How To Form And Pour A Concrete Slab
How to properly form and pour a concrete slab
HOW TO FORM AND POUR A CONCRETE SLAB
Pouring a concrete slab yourself can be both a money saver and a terrible mistake. In this blog, you will learn the best techniques and tools for getting concrete forms perfect the first time.
Prepare the Site
Contact your local building department to determine whether a permit is necessary and how close you can build to the lot lines. Typically, you will measure from the lot line to position the slab parallel to it.
Drive in four stakes to identify the corners of the new slab, then use a line level and string or a builder's level to determine the slope of the ground. To flatten a sloped site requires the moving of tons of soil. You can construct up the low side, dig the high side into the slope, and add a low retaining wall to keep the soil in place.
Set and Level One Side
- Cut a 2x12 length and nail it to a corner stake for one side of the concrete forms.
- Nail the 2x12 to the second corner stake after leveling it.
Stake and Brace the Side Form
- Stretch a mason's line just above the 2x12's top edge.
- Align the string with the 2x12 and brace it with 2x4 pairs spaced every 2 feet.
- To absorb shock and make nailing easier, hold a sledgehammer behind stakes and form boards as you nail.
Square, Level, and Stake the Other Sides
- Cut a second 2x12 to the slab's width.
- Nail one end of the braced form to the braced form and use the calculated diagonal length to set the form at 90°.
- In the end, drive a stake.
- Straighten, level, and brace the second form board.
Fill and Level
- To within 5in of the top of the forms, spread and tamp three-inch layers of granular fill. This will help in the forming of concrete.
- Measure down to the ground by stretching a string across the top of the forms. Perform this in three or four spots and average the results.
- Subtract your slab's thickness. Then, calculate how many cubic yards of fill are needed using this depth.
- Form a thicker concrete edge by sloping the fill down along the edges.
Pack the Fill
- Use a plate compactor to compact the fill.
- For the thickened edge, leave a 12-inch-deep by 12-inch-wide trench around the perimeter.
To strengthen the slab, tie in the rebar.
- Lay a layer of 6-mm plastic sheeting over the fill.
- Tie two bands of 1/2-in. Steel reinforcing rods (rebar) to stakes four inches from the forms' perimeter.
- Cut the rebar with a metal-cutting blade or disc in a reciprocating saw, circular saw, or grinder. To form the perimeter reinforcing, cut and bend rebar pieces.
- Splice the pieces together, overlap them by at least six inches and wrap the tie wire around the overlap.
- For support, wire the perimeter rebar to rebar stakes.
Partition the Slab
- Lay a four-foot-apart rebar grid over the plastic and connect the intersections with tie wire.
- Use 2x4 nailed to 1x3 stakes to divide the slab down the middle.
- On the concrete forms, mark the position of the door openings. Then, on the forms, mark the location of the 1/2-inch anchor bolts. Place marks for anchor bolts 6in from each side of the doors, 12 in from corners, and six feet apart around the perimeter.
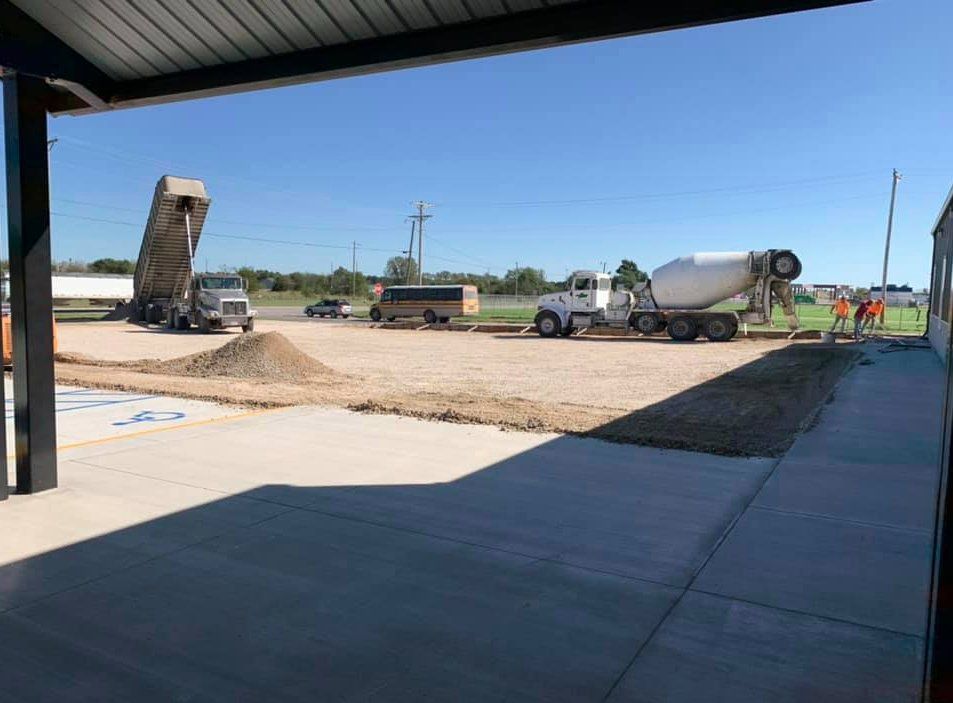
Prepare for the Concrete Truck
- To calculate the volume of concrete needed, multiply the length by the width by the depth (in feet) to get the cubic feet. Remember to account for the trenched perimeter.
- Divide the total by 27 and multiply by 5% to get the number of yards of concrete you'll need.
- Call the ready-mix company at least a day ahead of time and explain your project.
- Check your concrete forms three times to ensure they are square, level, straight, and well braced.
- Make sure you have at least two contractor-grade wheelbarrows and three or four strong helpers.
- Plan out the route the truck will take.
Pour and Level the Concrete
- To level the concrete, drag a straight 2x4 (screed board) across the top of the forms.
- If necessary, make multiple passes to create a flat, evenly filled area.
- As you pull the screed, have a helper add or remove concrete in front of it.
Flatten with a Bull Float
- Cross the screeded concrete with a bull float, keeping the leading edge elevated.
- When you reach the opposite side, lift the handle slightly to elevate the edge closest to you and pull back to the beginning point.
- Move over and repeat, about one-third overlapping the previously floated surface.
Round Off Slab Edges
- After surface water disappears, use an edging tool to round the slab's edges.
- Continue to use the edger until the edge is solid and smooth.
Set the Anchor Bolts
- Before the concrete hardens, press 1/2-inch anchor bolts into it.
- Place bolts one foot from each corner and every 6ft.
- Place bolts 6 inches from the sides of door openings
- Leave approximately 2-1/2 in. of the bolts exposed.
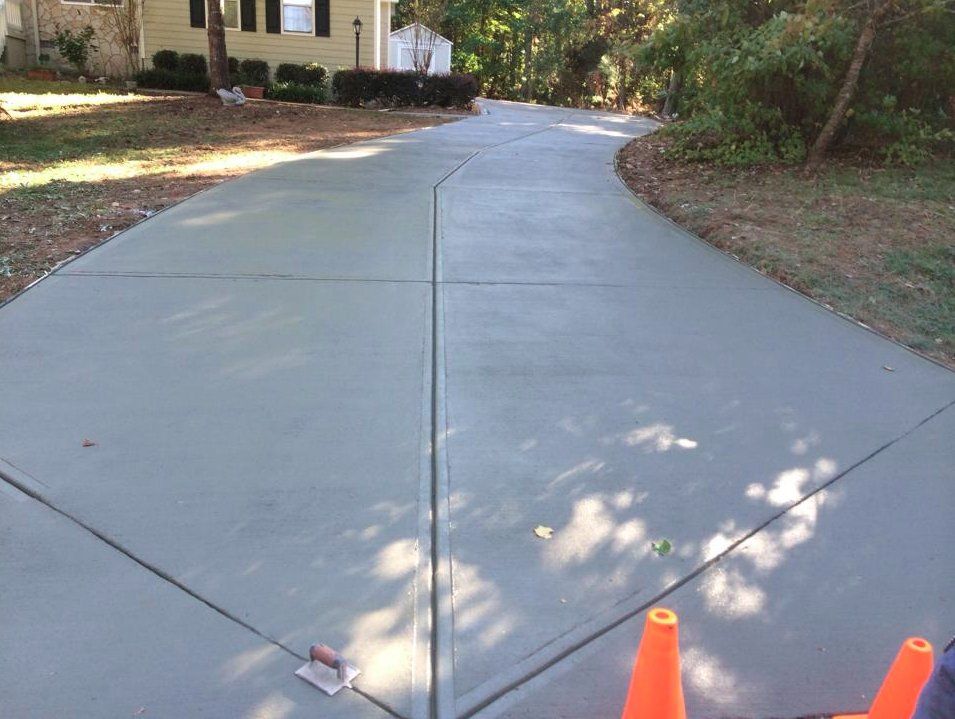
Cut Control Joints
- Run a groover along the edge of a straight 2x4 to form control joints to reduce random cracks.
- Move the groover forward and backward to make a deeper cut.
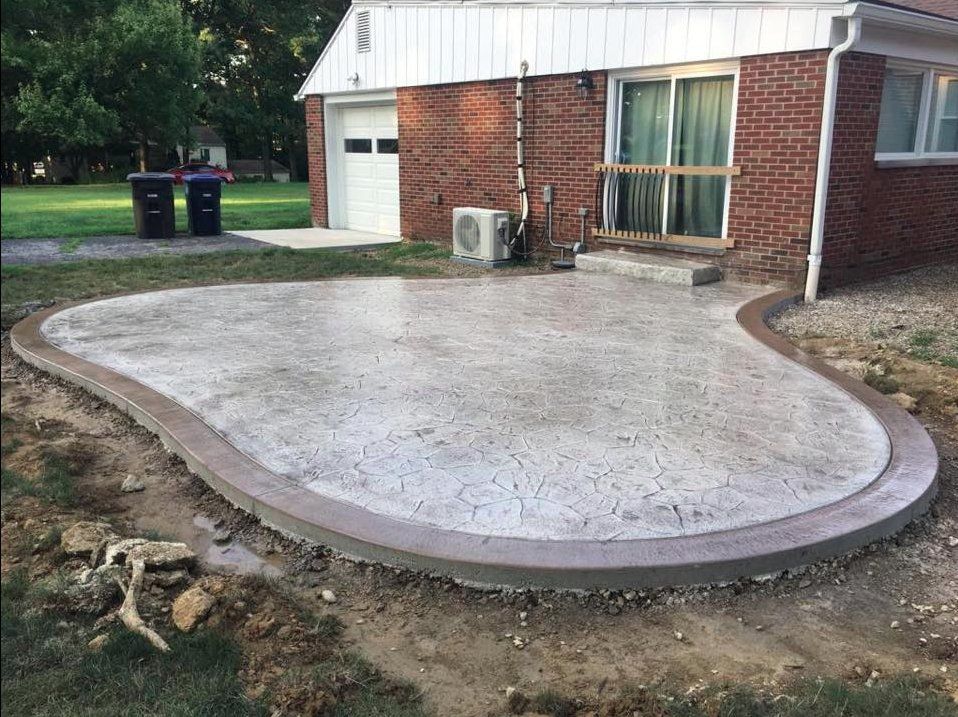
Smooth with Trowels
- You must wait until the concrete can support your weight before you begin grooving the slab.
- Cut two-foot squares of 1-1/2-inch-thick foam insulation suitable for kneeling boards
- Because the kneeling board distributes your weight, you can get an earlier start.
- In large slabs, cut grooves every 10 feet.
- When you're finished grooving, use a magnesium float to smooth the concrete.
- Use the float to remove edging marks and smooth out humps and dips left by the bull float.
- Smooth the surface even more with a steel trowel.
Let it Harden and Remove Forms
- Keep concrete moist after it has been poured to ensure that it cures slowly and develops maximum strength.
- Allow the finished slab to harden overnight before carefully removing the form boards.
- To loosen and remove the forms, pull the nails from the corners and kickers, and pry up on the stakes with a shovel.
C&C Concrete Contractors in Lincoln and Omaha, NE
Contact C&C Concrete Contractors today to learn more about concrete and our concrete services.
You might also like