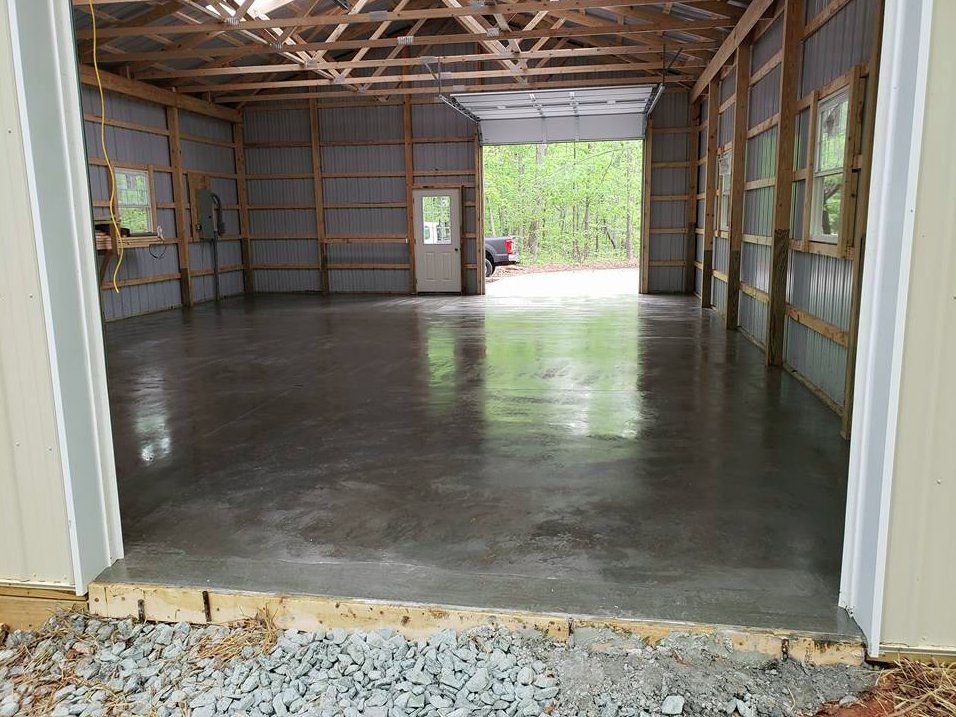
How To Pour A Garage Floor
Do You Need A New Garage Floor?
Concrete Lincoln, NE
Pouring a concrete floor is not as difficult as it would seem. This article will walk you through the entire process from start to finish.
We will discuss your needs and the steps involved in pouring a concrete garage floor.
STEP 1 - PREPARE THE SUBGRADE
Install gravel, road base, or crushed rock as the sub-base inside your garage. If you live in a cold climate, you don't want expansive soils like clay for a sub-base.
The depth of your gravel will vary depending on your situation.
Plan on adding at least 8 - 12" of gravel and up to 2 feet if you live in a climate with multiple days below freezing in the winter.
Rake the gravel level and compact it with a vibratory compactor several times. If your gravel is extremely dry, water it as you compact it.
STEP 2 - INSTALL A VAPOR BARRIER AND REINFORCEMENT
On top of the gravel, install a 6 mil plastic vapor barrier. A vapor barrier prevents moisture from coming up through the concrete floor from the sub-base.
You'll be glad you did if you decide to paint or epoxy your concrete floor!
Overlap all of the edges by at least 6" - 12" and seal them with this vapor barrier tape.
After you've finished installing the vapor barrier, add some wire mesh to reinforce the concrete.
It's best to use a "slab bolster" to keep the wire up in the middle of the concrete.
If the concrete does crack, the wire mesh will hold it together. It prevents the crack from spreading, lifting, or expanding.
Wire adds no strength to the concrete and prevents it from cracking. To help prevent cracks, saw contraction joints in your floor.
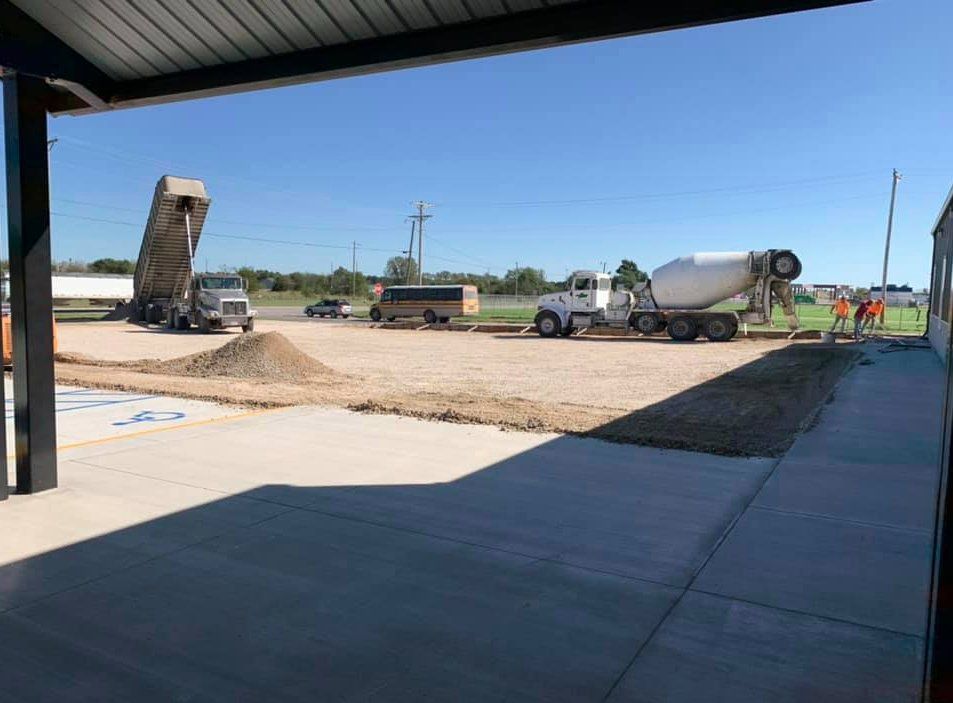
STEP 3 -CALL AND PRE-ORDER YOUR READY MIX CONCRETE
You should call and pre-order your ready mix concrete at least a week before you plan to pour your concrete floor.
Most ready-mix concrete companies are extremely busy, with projects planned out for days in advance.
Ask the concrete dispatcher how many cubic yards of concrete you'll need based on the thickness and dimensions of your floor.
We prefer you to use a 3000 psi mix with 3/4" aggregate. That's a great mix for a garage floor.
STEP 4 - PLACING (POURING) THE CONCRETE FLOOR
When the concrete arrives on site, instruct the truck driver to mix it to a 5" or 6" slump.
Slump refers to how loose or dry the concrete is when it is unloaded from the truck. When pouring a garage floor, a 6" slump is a good workable slump.
The concrete truck has chutes that reach approximately 20 feet to place the concrete. Using concrete rakes, you can usually easily pull the concrete another 4 or 5 feet.
Other methods will be required if you need to place concrete more than 24 feet away. To reach further, use a 12' or 16' aluminum chute. (These are not available at tool rental stores.) You can also use a wheelbarrow (this is much slower, but it works).
To fill the area, pull and rake the concrete. After you've poured about 1/4 to 1/2 of the garage, you can screed it level.
Mark your floor grades with a laser level around the outside perimeter, then snap a chalk line using those marks on the wall.
Use the laser level to make a "wet pad" in the concrete for the middle grades. The wet pad should then be used to screed and level the floor.
Screed with a straight 2x4 or a magnesium screed.
Use your pre-marked grades on the perimeter and the grade pad you set in the middle to strike off the concrete.
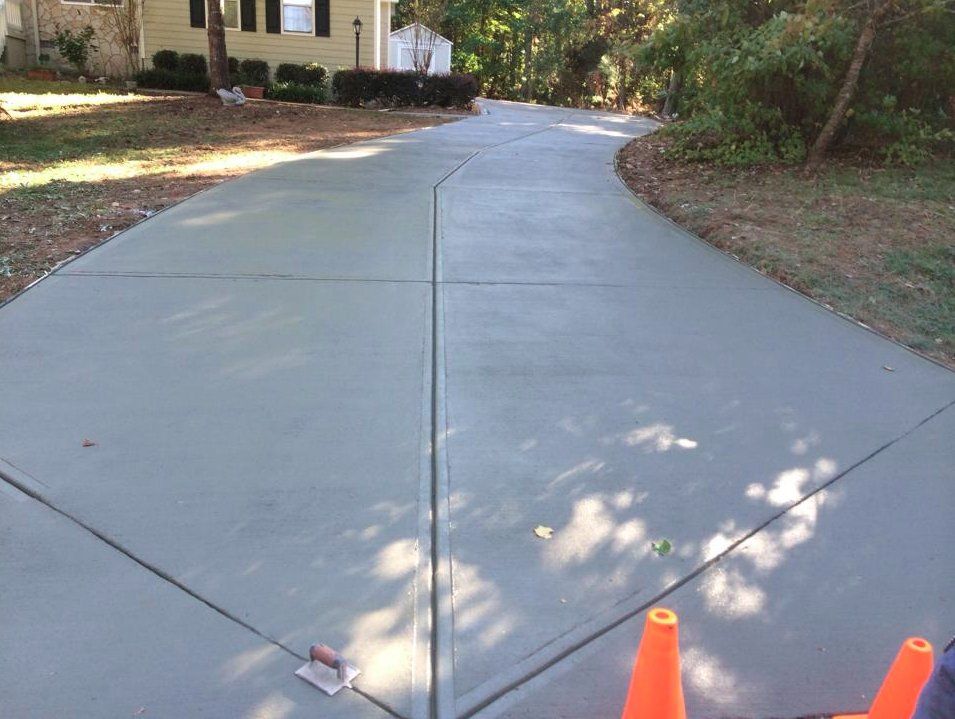
After screeding the concrete, smooth the surface with a bull float to prepare it for finishing.
GET IN TOUCH
Contact C&C Concrete Contractors if you want to build a concrete garage floor. As experts in this industry, we know that we can install the floor you want, exactly how you want it, at a price that won't break the bank. Contact us right away!
You might also like